Your project, step by step
Peel-and-stick tile installation
A little preparation makes all the difference. Use this guide to plan your wall refresh, then follow the instructions included with your selected tiles.
Start with the checklist ↓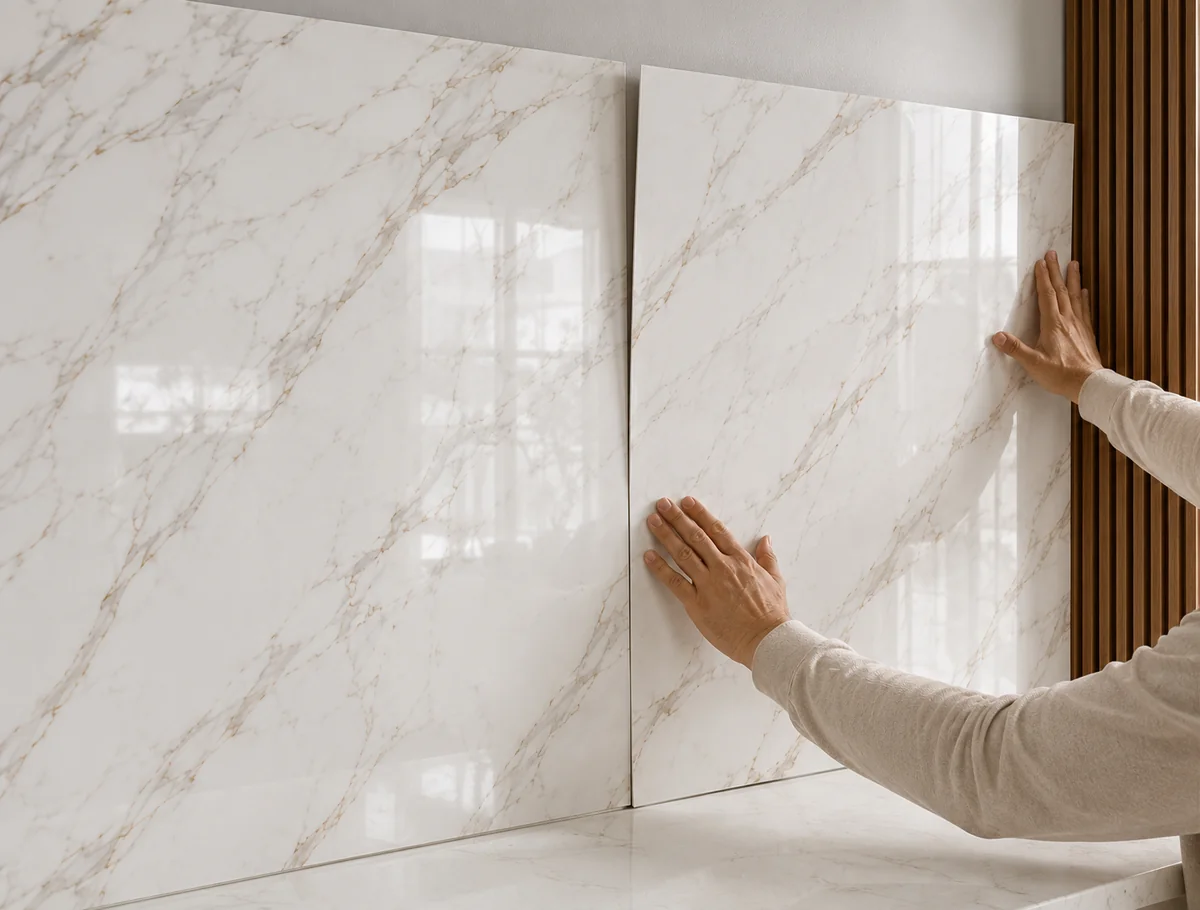
Before you start
Gather your tools
Tape measure, pencil, level, straight edge, soft cloth, and the cutting tool recommended in your product instructions.
Check the surface and pack contents
Confirm your finish and quantity. Start with a clean, smooth, dry wall. For textured surfaces, direct water exposure, or areas near heat, check suitability with us before installation.
Step 01
Prepare the surface
Remove dust, grease, and loose material. Wipe the surface clean and allow it to dry fully before checking your layout.
- Inspect for texture, loose paint, and uneven areas.
- Let fresh paint cure for the full time specified by its manufacturer.
- Confirm surface suitability using the instructions supplied with your tiles.
Step 02
Measure and plan
Measure the wall, calculate its area, and lay out your pattern before removing any backing. Use a level to mark a straight reference line.
- Multiply width by height in feet to find square footage.
- Account for outlets, corners, and the direction of the pattern.
- Allow extra material for cuts and waste, then round up to whole packs.
Step 03
Mark and cut
Transfer your measurements to the tile and check the fit around edges and obstacles. Follow your product’s cutting instructions and use a suitable straight edge.
- Work on a stable, protected cutting surface.
- Keep hands clear of the cutting path.
- Dry-fit each cut piece before exposing its adhesive.
Step 04
Peel, align, and press
Peel back the liner gradually, align the tile with your reference line, and press it firmly into place. Continue the layout while checking alignment as you go.
- Follow the supplied instructions for seams; do not assume tiles should overlap.
- Smooth from the center toward the edges with a soft cloth or suitable tool.
- Follow the product’s instructions before exposing the installation to moisture or cleaning.
Ready for the next step?
Find answers about coverage, installation, and care, or tell us about your project.